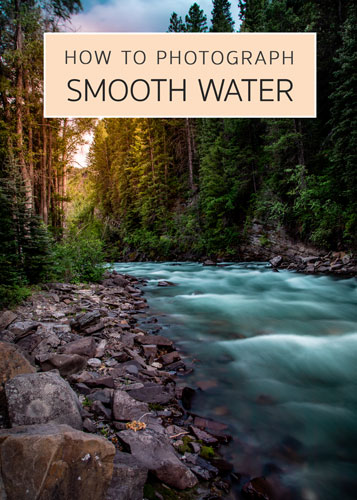
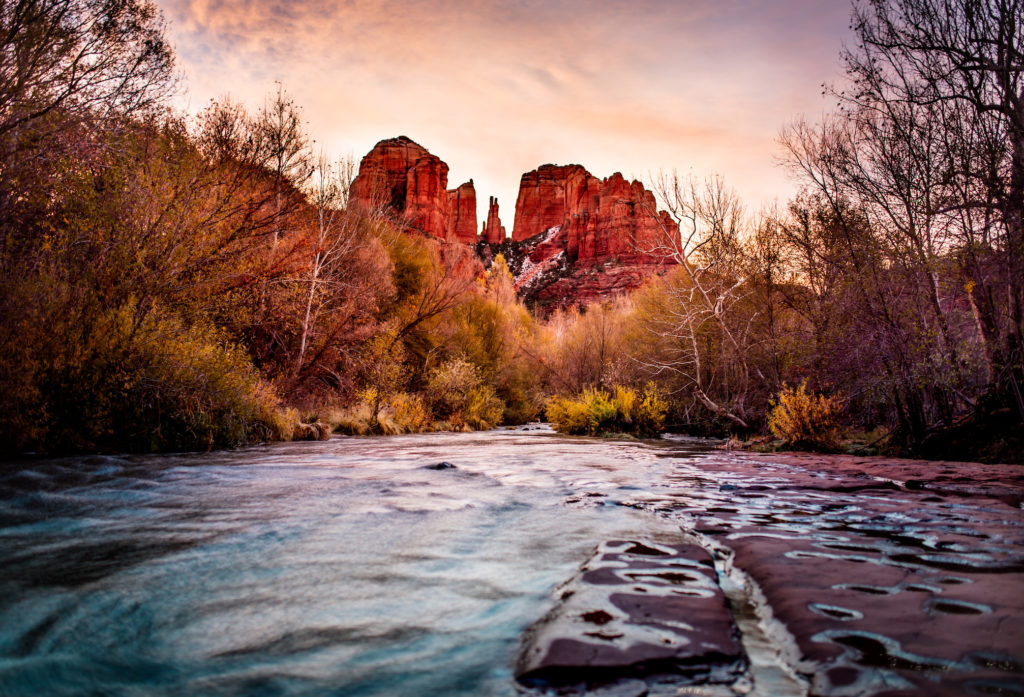
Moving water photography can be super fun and addicting when done right. In this post I wanted to explain how to achieve the silky smooth water effect that you often see with waterfall photography, lakes and streams.

There are several ways to photograph moving water, and I’ll start from the one that gets the best result!
Neutral Density Filter for Waterfalls
For the first method, I’ll be covering long exposures. This is the cleanest way to get water to look silky and it is also the easiest. If you’ve ever tried doing a long exposure during the day you may already know this doesn’t exactly work. You’ll end up with a completely overexposed image due to so much day light entering your shutter. So how can one take a long exposure photo during the day without letting too much light in?
I present you – Neutral Density Filters! Neutral Density Filters are a staple item in most photographer’s backpacks. These filters are mounted on top of your lens (there are different sizes for each size of lens so make sure you get the correct diameter), and add darkness to your shot by filtering out light. Depending on how dark the filter is, you may not actually be able to see anything through your viewfinder once you put it in.
This is the exact neutral density filter I use for my long exposure shots during the day:
B+W 77mm SC 106 ND 1.8 Filter (6-Stop)
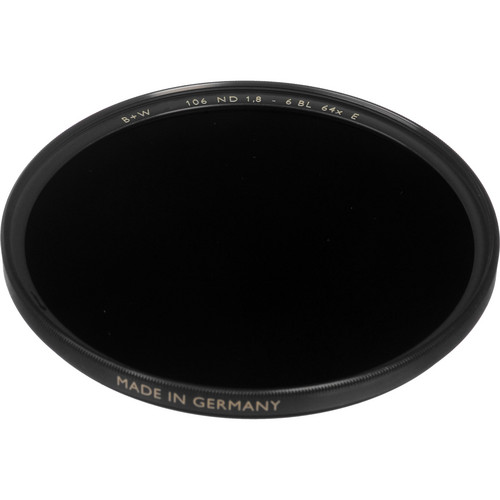
There are multiple scenarios in which you may want to do long exposure photography during the day; for example, to eliminate moving people from your shot, to create smooth clouds and of course, to create smooth water. By adding a dark filter to your lens, you can extend your shutter speed to multiple seconds without letting too much light and overexpose the shot.
How to Use a Neutral Density Filter for Photographing Moving Water
- Set up your tripod and camera and aim it at your subject.
- Set your camera to manual mode; this will allow you to pick a custom exposure length.
- Depending on how dark the filter is and the features of your camera, you may not be able to focus on the subject since the camera won’t be able to pick it up. If your camera has a live preview screen that takes into account exposure time, you can just tap on the screen to set the focus.
If it doesn’t, you’ll need to set your focus ahead of mounting the filter. Use automatic focus to get your subject in focus, then switch your lens to manual while keeping the current focus setting. - Attach the filter to your lens. Try not to move the tripod since you already have your focus set up.
- Set your exposure length to 3-5 seconds. You will need to adjust this depending on the darkness of your neutral density filter, how dark it is outside and your own personal preference on how silky you want the water to come out.
- Set a camera timer for 2 seconds to eliminate shutter-jitter
- Keep ISO low to reduce noise.
If you’re planning on adding a moving object (like a person) to your shot, know that this moving object will not be in focus when using long exposures.
In this case, you could either have your subject try to stay as still as possible for the duration of the exposure, or take two shots; one long exposure for the water, and one focused on the subject (not a long exposure). Make sure to not move the tripod in between shots!
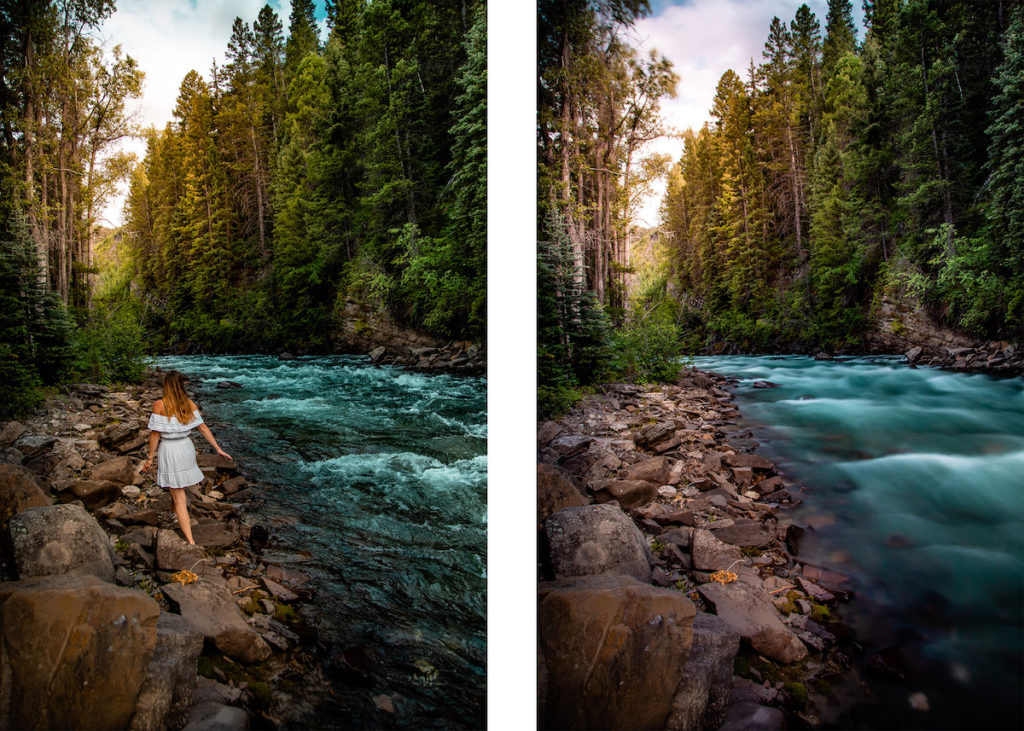
You’ll end up with two near-identical exposures that will be easy to blend together in Photoshop:
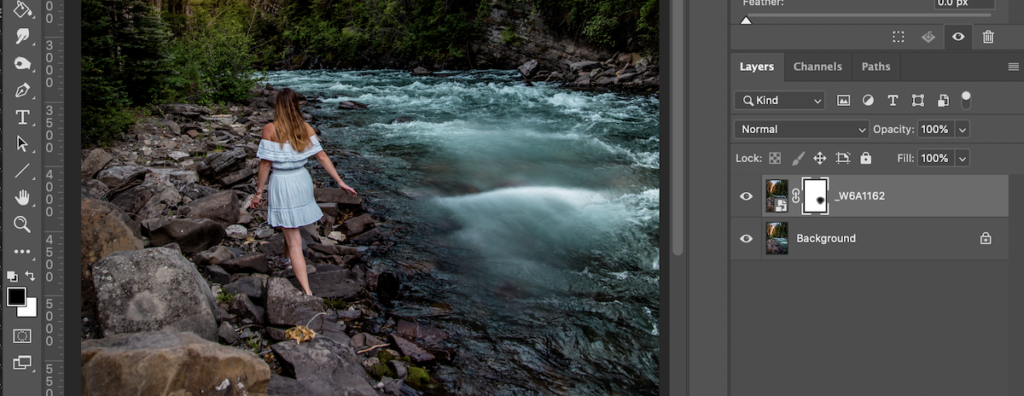
To overlay the images in Photoshop, import both exposures as separate layers into a single Photoshop document. Place the one with the subject as the top layer and add a layer mask over just this layer
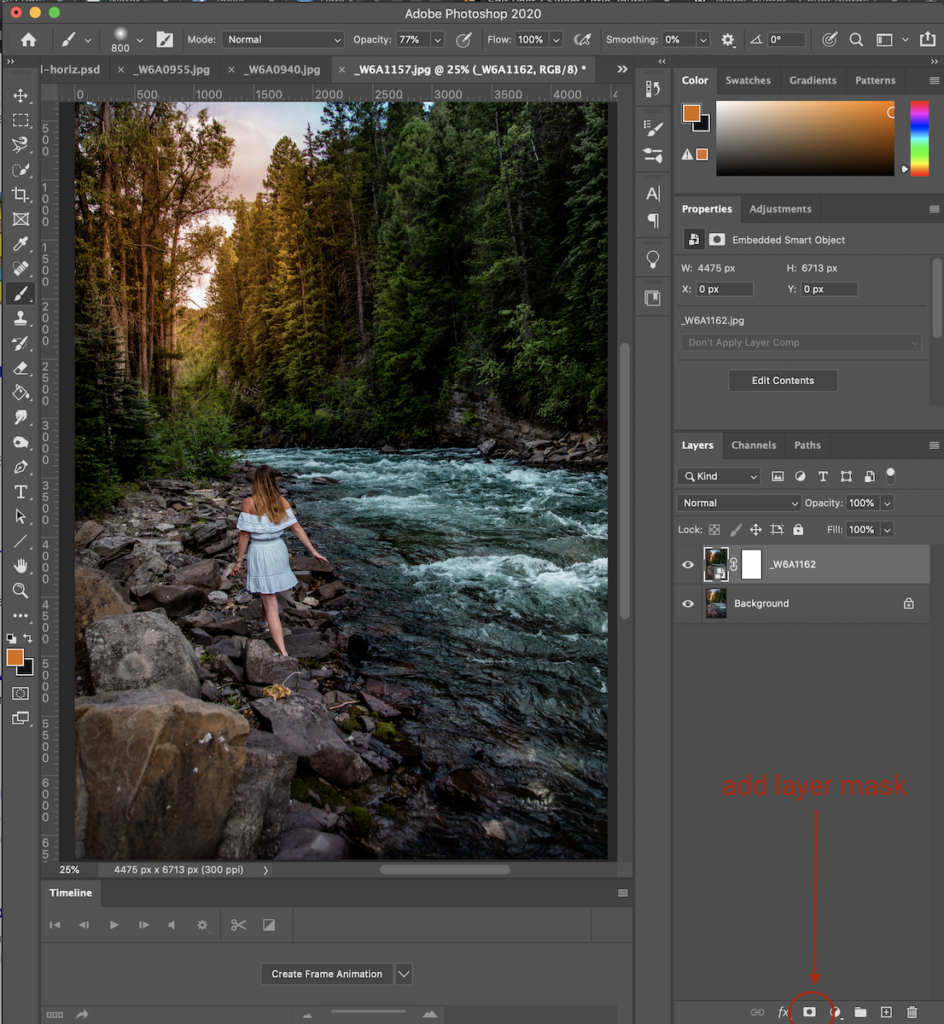
Then use a black brush and paint over the water section to hide the top layer and expose the layer beneath.
Moving Water Photography with Multiple Exposures
If you don’t have a neutral density filter, there are other ways you can capture moving water to create the silky smooth water effect.
For this method, you’ll need to take multiple exposures (10-15) from the same spot. The camera should ideally be mounted on a tripod, but you could also attempt to just hold it by hand if you don’t have a tripod, since you won’t be doing a long exposure.
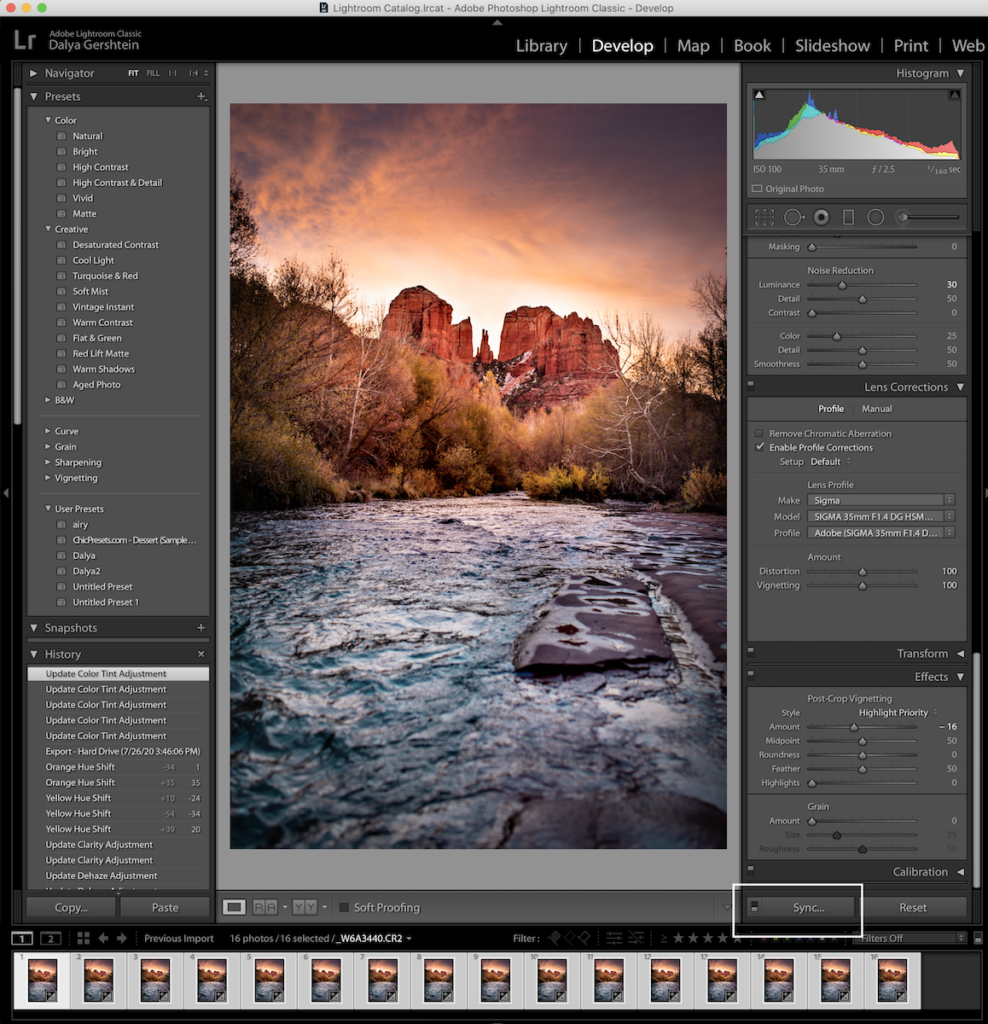
Once you have all your shots, you’ll need to edit them all the same way in Lightroom. To apply the same settings to all the photos, you can first edit one photo and then synchronize the settings across the rest of the photos:
Once all the photos have the same adjustments, you can export them as separate files into a folder. Open these up in Photoshop as separate layers and make sure all the layers are rasterized (and not smart objects). Depending on your version of Photoshop you may have an option to go to File > Scripts > Load Files into Stack or just drag and drop the photos from your folder into Photoshop.
Select all your layers and go to Edit > Auto-Align Layers..
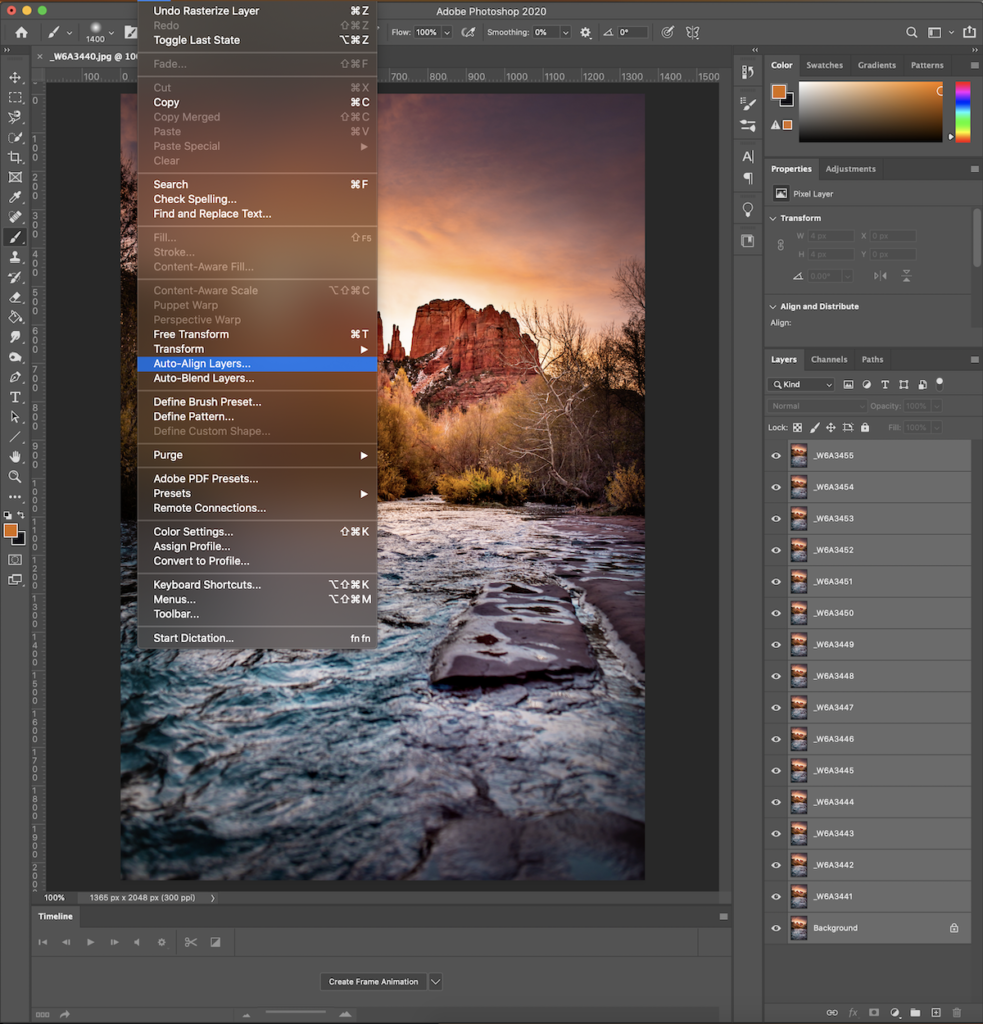
This will align the layers for you to reduce blur between layers.
Then, you’ll need to go through each layer and change the opacity on it.
Start at the bottom and work your way up. The bottom layer will stay at 100%, but each subsequent layer will have 100/X opacity, where X is the number of the layer if counting from the bottom.
For example:
First layer (bottom layer): (100/1) = 100% opacity
Second layer: (100/2) = 50% opacity
Third layer: (100/3) = 33% opacity
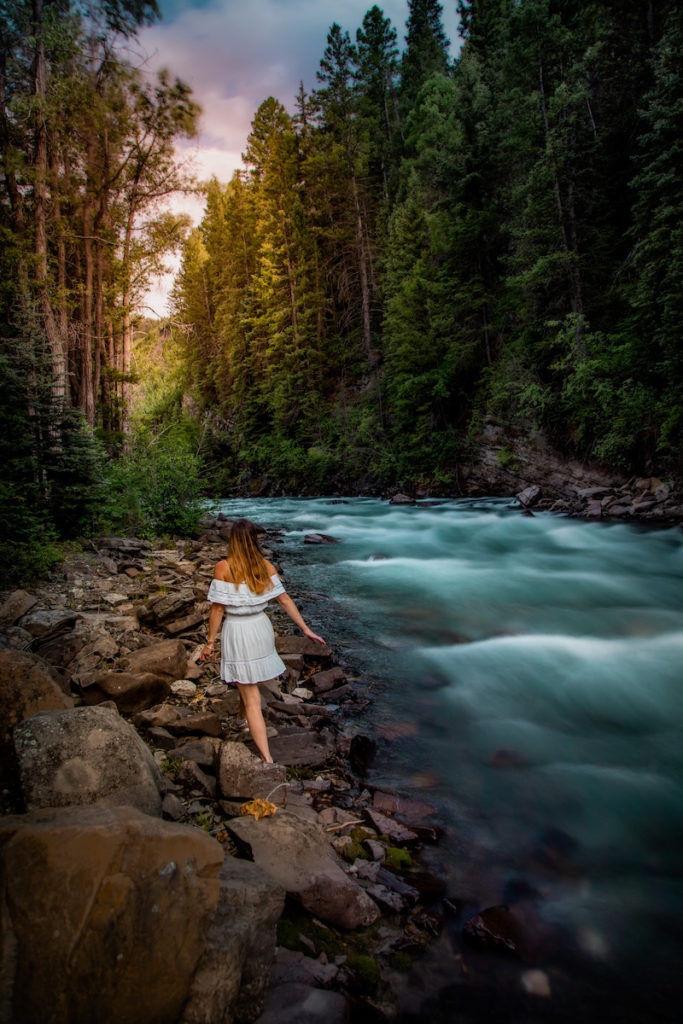
and so on until you reach the top most layer. You’ll notice that the static objects in your photo will not change, but the water will start to look blurry:
That’s all! I hope you’ve enjoyed reading through these two methods of creating silky smooth moving water 🙂
If you found this guide on moving water photography helpful, let us know in the comments and check out our other photography guides!